I am a professional photographer.
I remind myself of that every day because it just seems so unreal that I would even attempt something so audacious.
But I am a professional photographer who is on a very limited budget. And who cooks and takes pictures of her food. And who needed to be able to take better pictures of her food.
Hence I felt that I needed some sort of lightbox. A lightbox is a box that allows a photographer to shoot with diffused rather than sharp light. It literally takes the object you are shooting out of the background because the background that you are using is white or black. It makes your pictures all happy happy joy joy.
Or at least you hope that it does anyways.
But because of the whole limited budget thing I can’t just run out and buy something.
Enter Pinterest.
Oh how I love Pinterest. I need an extra day or two a week just to make and look at and think about the things that I have “pinned”. And there on Pinterest I came across a “how to make your own lightbox” tutorial. And then that led me to another one…and another one. And I thought,
I CAN DO THIS!!!
I didn’t take pictures of the process, you can find it here >>>> Wiki Lightbox
Lets see how I did shall we?
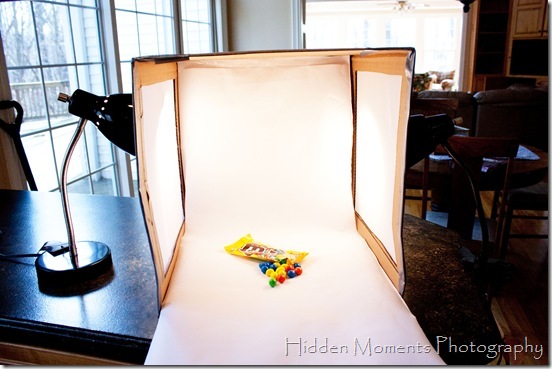
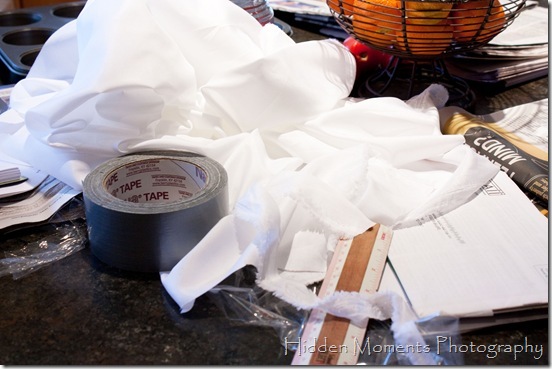
I will admit that I made some modifications. Instead of the tissue paper that they suggested I went to the local fabric store and bought some inexpensive light weight polyester fabric. It gives great diffusion and is very similar to what you would find on professional lights. And it doesn’t tear at the drop of a hat.
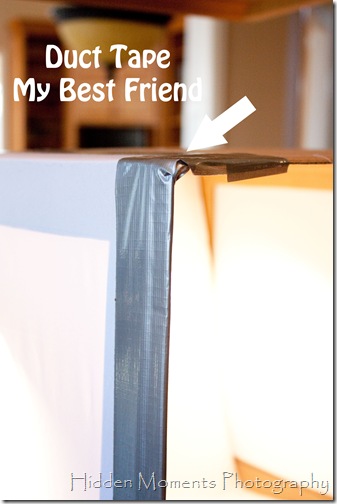
I also employed duct tape. Why? Because I am my Grandpa Pringle’s girl that’s why and he firmly believed in duct tape for everything.
I used plain white drawing paper that I have in a large roll but I may change that to use poster board which has a bit more strength.
The other major modification is that I didn’t cut a large square out of the top of the box. I am not lighting from that angle and it seemed that it would compromise the integrity of the box. Also, I am going to cut a “flap” in that area so that I can shoot from above. Maybe.
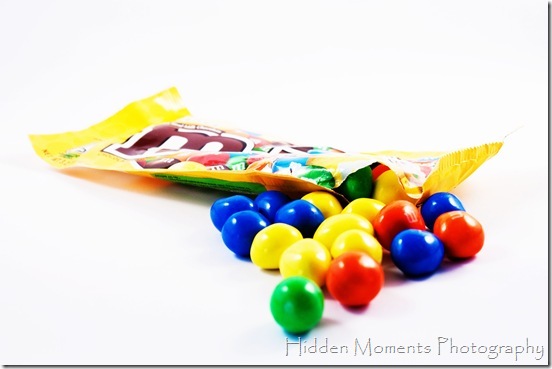
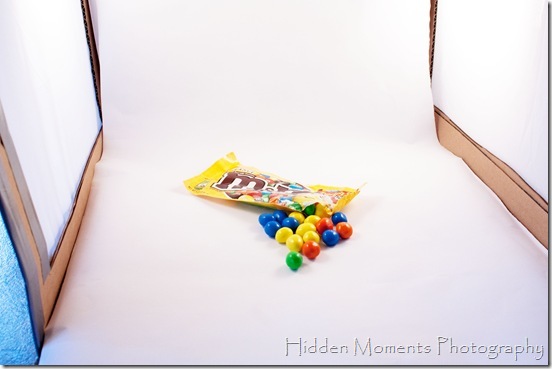
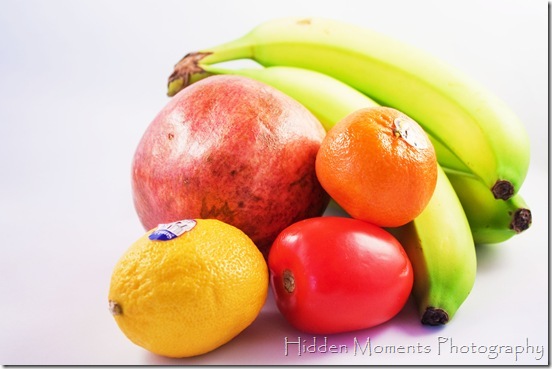
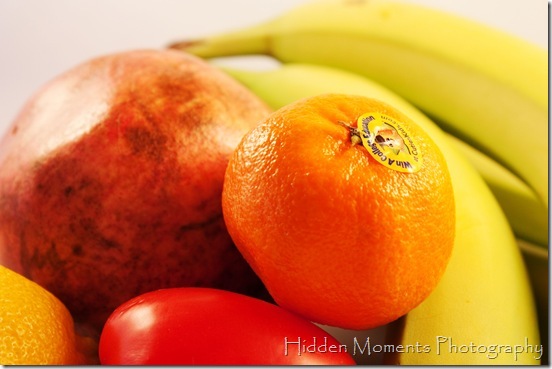
At any rate lets look at some of the test photos that I took today and you can tell me what you think.
Pretty cool eh! I must admit that I am more than a little proud of myself. I did have to run out to Target at one point because I couldn’t find the other small lamp that I KNOW I had around here. Perhaps it was cleaned out inadvertently. Oh well.
I think I will call this one “Still Life at Chez Knit”
You know, these aren’t half bad. I am rather tickled.
Or I would be if I wasn’t gasping for air because Max the Wonder Dog just let off a terrible “fluffly” right behind my desk chair if you know what I mean.
The aftermath.
I will say now that I know how this works I am going to “tinker” with the design a bit.
And for those of you wondering where my “52 Food Adventures” post is, since that generally shows up on Tuesday. It will be a day late. I am making something that I haven’t ever made successfully before and it won’t be ready until tomorrow.
But it looks VERY promising.
And there will be pictures.

I'm so going to try this out! Some of my yarn photos could be better . . .
ReplyDeleteYou never cease to amaze! Very cool. But I am so behind here - how to you get your name on your photos?
ReplyDelete